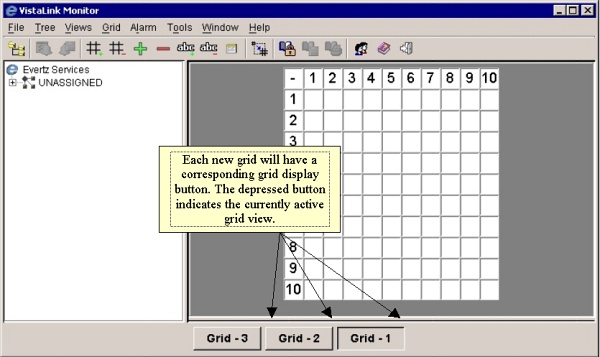
After creating a new grid view, its name will be displayed in a button along the bottom of the grid display area. If the “Make new grid active view” box was checked during grid setup, the new grid view will be the currently active grid displayed in the grid display area. If multiple grid views have been established a user can switch between the grid views by clicking its corresponding named button along the bottom of the grid display area.
In order to easily recognize grid locations, Grid Headers can be toggled on and off for the grid display area. To activate the Grid Headers select "Grid" from the main menu and check the "Grid Headers" option. With Grid Headers activated an additional row and column will appear along the top and left edge of the grid, containing numbers corresponding to the cell coordinates.
The Dynamic Grid option can be enabled to maximize the
use of the active grid display area. With Dynamic Grid enabled, the currently
active grid view will be dynamically maximized to use the entire display
area. To enable Dynamic Grid select "Grid" from the menu bar
then check the "Dynamic Grid" option or click the  Toggle Grid View toolbar button.
In order to further maximize the size of the active grid display the Navigation Tree can be toggled on and off to allow the active grid to use the entire Client window area. To hide the Navigation Tree, select Tree from the main menu bar then select the Hide/Show Tree... option or click the Hide/Show Tree... toolbar button.