In order to add or modify user accounts you must
be logged on to VistaLink PRO with an account that has access to the Configure
Users option. The Administrator account has this ability
by default.
User accounts can be added, edited or removed
through the User Manager dialog. Select Tools -> Configure Users from the
main menu. The User Manager dialog box will open displaying all
current users accounts for the system.
If adding a new user, select the Add button.
If modifying an existing user, highlight the user in the list and select
the Edit button. The Add New/Edit User dialog box
will open allowing configuration of the user account username,
password and privileges.
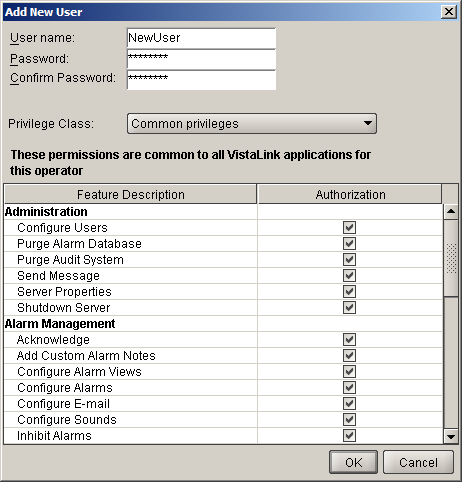
The user account details dialog contains the following
fields that can be changed when adding a new user or editing an existing
user account:
User name: The name of the account being created/edited. This
is the name the user will use to logon to the VistaLink PRO system.
All audit log entries will reference this accounts actions by the name
entered in this field.
Password: The password this account will use to logon to the
system with the appropriate account privileges.
Privilege Class: This dropdown menu will change the privilege
authorization screen to allow privileges to be assigned for any feature
type in VistaLink PRO. The available options are: Common Privileges, Monitoring
Privileges, Scheduling Privileges and Server Privileges. Change this selection
and then use the Authorization area to select specific access rights.
Note:
the Privilege Class is not a user account
type, it simply changes what options are displayed in the Authorization
area.
Authorization: This area presents all features for a Privilege Class
with an Authorization check box for each. Access per feature can
be enabled or disabled for the current account by checking or un-checking
the Authorization check box for the feature in selected.
After setting up a user account clicking OK will add the user (or update if editing) to the User Manager list. Continue steps 2 - 3 for additional users or click the OK button to close the User Manager and save changes. Click the Cancel button to abort all changes.